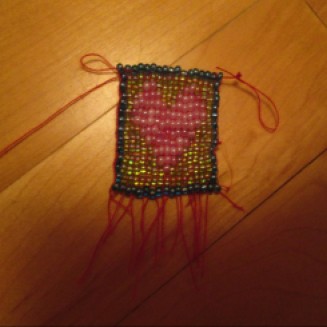
This craft is probably the hardest (that said, it’s not too difficult) all week, but the final product is really rewarding.
So keep that in mind as we start Day 7’s craft, a beaded heart made on a beading loom!

Okay, so first we have to make our loom. If you already have one, that’s great, just skip on over to the actual pattern, but if you don’t (I don’t think beading looms are the most common thing), you can make your own using the instructions below.
Materials Needed:
- a Kleenex/tissue box or similar cardboard (you don’t need much)
- a hot glue gun & glue
- scissors
- a pin or similar
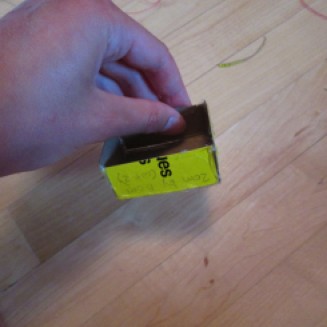
1.Cut the pieces shown above from the tissue box: one 4 cm by 5 cm piece, two 2 cm by 5 cm pieces and two 4 cm by 3.5 cm pieces. The pieces do not need to be exact in the slightest, just cut generally that size.
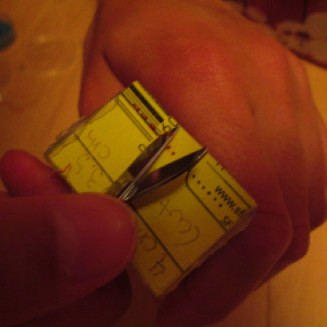
2.Glue your box/loom together as shown, then cut down the sides so you have finger space.

3.Poke 18 holes in each end of the loom. The distance between the holes should be the height of your beads.
Your loom is complete!
Now for the actual beading.
Materials Needed:
- Over 1.5 m of thread (you may need to raid your mother’s/grandmother’s/brother’s sewing basket)
- A needle that fits through your beads
- Three colours of seed beads (I used size 10 seed beads in colours blue, pink and green)
- White glue

1.Tie a knot in the end of the thread, ensuring that you tie a loop in it as well.
2.Thread your loom back and forth, using a needle to help.
3.Make sure you have 18 strings going across the loom. (We’ll call these strings the ‘loom strings’ because I have nothing better to call them.)
4.String the 17 beads of row A (see pattern above) on the thread coming out from the back of the loom (you should not cut the thread you strung the loom with; keep using this thread. Leave the needle on to do this.)
5.Bring them around the corner of the loom and pass them under the loom strings.
6.Press the beads up in between the loom strings. Each bead should be separated from one another. (see images above)

7.Bring the needle back through the beads from the side it was on, passing it over the loom strings and through the beads, forming a kind of thread sandwich over the loom strings. (Ignore the fact that I am now on the second row; I forgot to take pictures and had some pattern problems (which is why I was using green instead of blue))
8.Pull tight. These strings (the ones you are now working with) we will call the beading strings.
9.String the beads for the next row on, pass the thread under the loom strings and repeat steps 6-8 for each of the remaining rows.
10.Once everything is beaded on the loom, cut the bottom end of the loom strings off the loom. (above left)
11.Do not cut the top end off the loom! Instead, cut the loom itself just below the loom strings. Using careful snips, extract the top strings from the loom, ensuring you don’t cut any of them. (above right)
12.Pull the strings at the bottom end so that the loops at the top disappear. Leave the loop that separates the beading strings from the loom strings. (above left)
13.Knot the bottom strings tightly to the project and secure with white glue. Tie of the beading string now too (and secure with glue). (above right)
14.Take a shorter length of thread, put it through the loops on each corner and tie.
Happy Beading,
ForestPoodle88🐩


